Natural light is often referred to as the photographer's best friend, and for good reason. It's free, abundant, and when used correctly, it can create stunning, emotive images that artificial lighting setups struggle to match. However, working with natural light comes with its own set of challenges – it's constantly changing, unpredictable, and sometimes seemingly uncooperative.
In this comprehensive guide, we'll explore the art and science of natural light photography, equipping you with the knowledge and techniques to create beautiful images in any lighting condition.
Understanding the Quality of Light
Before we dive into specific techniques, it's crucial to understand the different qualities of natural light:
- Hard Light: Created by direct sunlight on a clear day, hard light produces strong contrasts, defined shadows, and vibrant colors. While challenging to work with, it can create dramatic, high-impact images.
- Soft Light: Produced when light is diffused through clouds or reflected off surfaces, soft light creates gentle transitions between highlights and shadows, flattering skin tones, and a dreamy aesthetic.
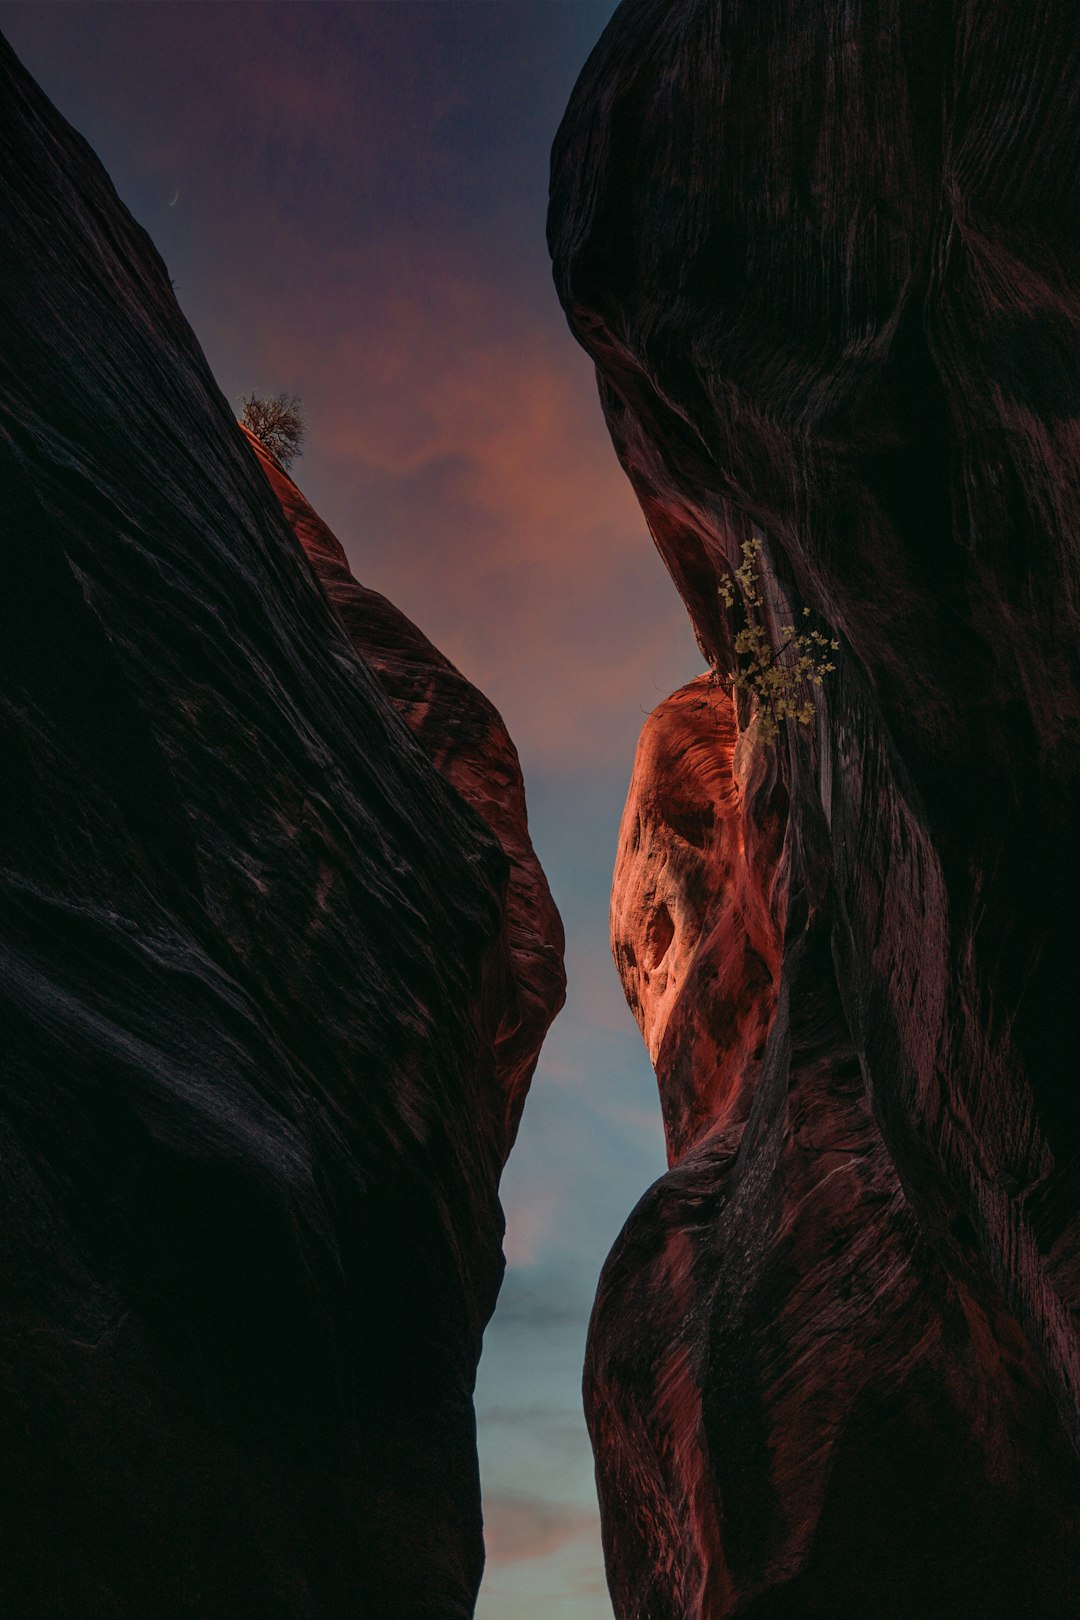
- Warm Light: Occurring during golden hour (shortly after sunrise or before sunset), warm light has a golden-orange hue that adds a magical quality to images.
- Cool Light: Common during blue hour (just before sunrise or after sunset) or in shaded areas, cool light has a blue tint that can create a calm, serene mood.
The Golden Hours: Magic in the Morning and Evening
The golden hours – those brief periods shortly after sunrise and before sunset – offer photographers the most magical natural light. During these times, the sun is low in the sky, creating:
- A warm, golden glow that flatters skin tones
- Soft, directional light that adds dimension without harsh shadows
- Long shadows that add depth and interest to landscapes
- Dramatic backlighting opportunities
To make the most of golden hour:
- Plan ahead using apps like PhotoPills or The Photographer's Ephemeris to know exactly when and where the sun will rise or set.
- Arrive early to scout locations and set up your equipment.
- Work quickly, as this magical light changes rapidly and typically lasts only 20-30 minutes.
- Consider shooting in Aperture Priority mode to maintain consistent exposure as light changes.
Midday Sun: Taming the Beast
Midday sun is often considered the photographer's nemesis due to its harsh, overhead quality. However, with the right techniques, you can create compelling images even in these challenging conditions:
- Find or Create Shade: Position your subject in the shade of a building, tree, or use a diffuser to soften the light.
- Use Reflectors: Bounce light back onto your subject to fill in harsh shadows.
- Embrace Contrast: Use the high contrast to create dramatic black and white images.
- Shoot Silhouettes: Position your subject against the bright sky to create striking silhouettes.
- Utilize Polarizing Filters: Reduce glare and enhance colors, especially useful for landscape photography.
Overcast Days: The Giant Softbox
Many photographers actually prefer shooting on overcast days. The cloud cover acts as a natural diffuser, creating even, soft light that's perfect for portraits, macro photography, and capturing vibrant colors. On cloudy days:
- Colors appear more saturated without the washing-out effect of direct sunlight.
- You can shoot comfortably throughout the day without worrying about rapidly changing light.
- Subtle details are more visible without harsh shadows obscuring them.
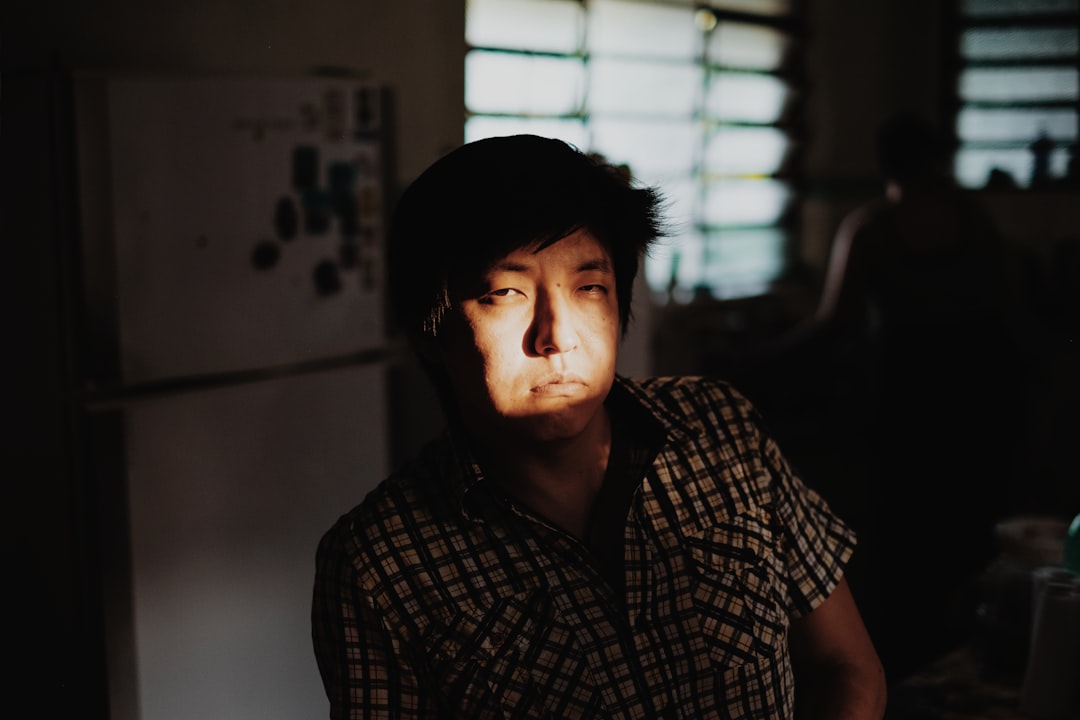
Window Light: The Indoor Photographer's Best Friend
Window light is perhaps the most accessible form of natural light and can produce stunning results for portraits, still life, and food photography:
- North-facing windows (in the Northern Hemisphere) provide consistent, soft light throughout the day.
- Side lighting from windows creates beautiful dimension and modeling on faces.
- Diffuse harsh window light by hanging sheer curtains or placing a translucent shower curtain over the window.
- Use reflectors opposite the window to bounce light back and fill shadows.
Advanced Natural Light Techniques
Once you've mastered the basics, explore these advanced techniques:
- Backlighting: Position your subject with the sun behind them to create a beautiful rim light or halo effect. Expose for your subject's face and use reflectors or exposure compensation to balance the image.
- Dappled Light: While generally avoided, dappled light (like that filtering through tree leaves) can create interesting patterns when used intentionally.
- Shooting Through Objects: Use elements like foliage, fabric, or prisms in front of your lens to create creative effects with natural light.
- Silhouettes and Rim Light: Place subjects against bright backgrounds during golden hour to create dramatic silhouettes or beautiful rim lighting.
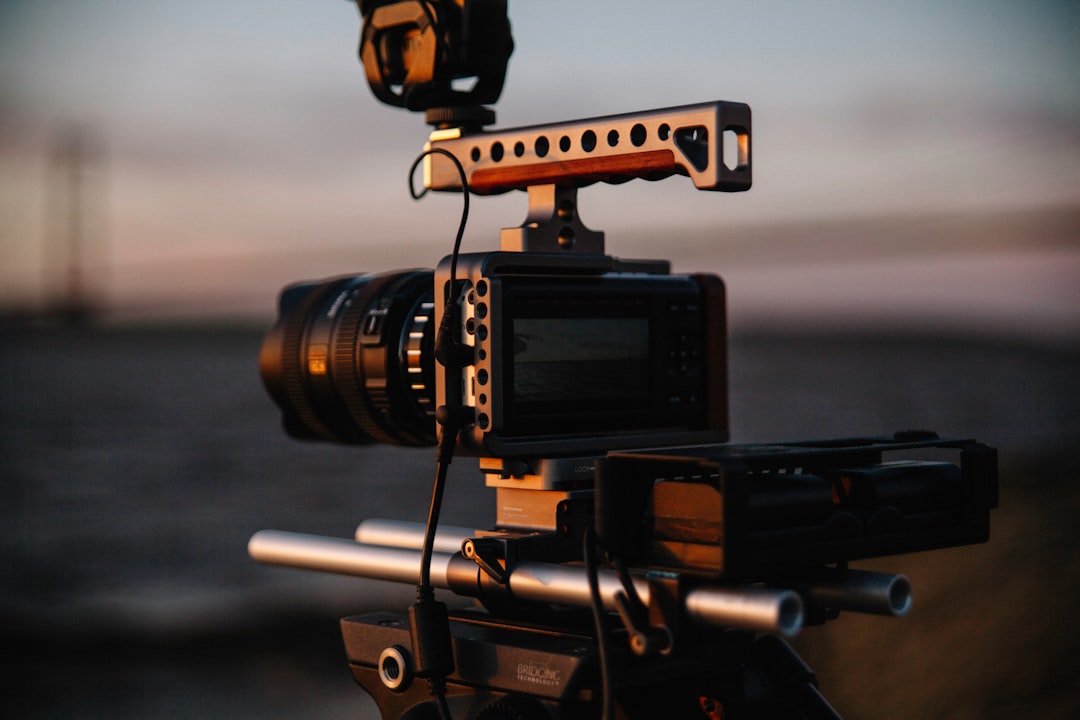
Essential Gear for Natural Light Photography
While natural light photography requires less equipment than studio photography, these tools can help you control and shape available light:
- 5-in-1 Reflector: An affordable and versatile tool to bounce, diffuse, or absorb light.
- Diffuser: Softens harsh sunlight when positioned between the sun and your subject.
- Polarizing Filter: Reduces glare and enhances colors, especially useful for landscapes.
- Neutral Density Filters: Allows for wider apertures or longer exposures in bright conditions.
- Lens Hood: Prevents lens flare when shooting toward the light source.
Conclusion: Becoming a Master of Light
Mastering natural light is a journey that requires practice, observation, and patience. The more you shoot in various lighting conditions, the more intuitive your understanding will become. Start by studying how light interacts with your subjects throughout the day, and soon you'll develop an instinct for which lighting scenarios work best for different subjects and moods.
Remember that "bad" light doesn't really exist – only light that may not match your vision for a particular image. By understanding how to work with whatever light is available, you'll expand your creative possibilities and be able to create compelling images in any situation.